
How to Vectorize a Logo for Free (Inkscape Trace Bitmap)
Turn a blurry customer logo into a sharp vector for DTF printing with free Inkscape Trace Bitmap: which mode to use, cleanup steps, and when to redraw.
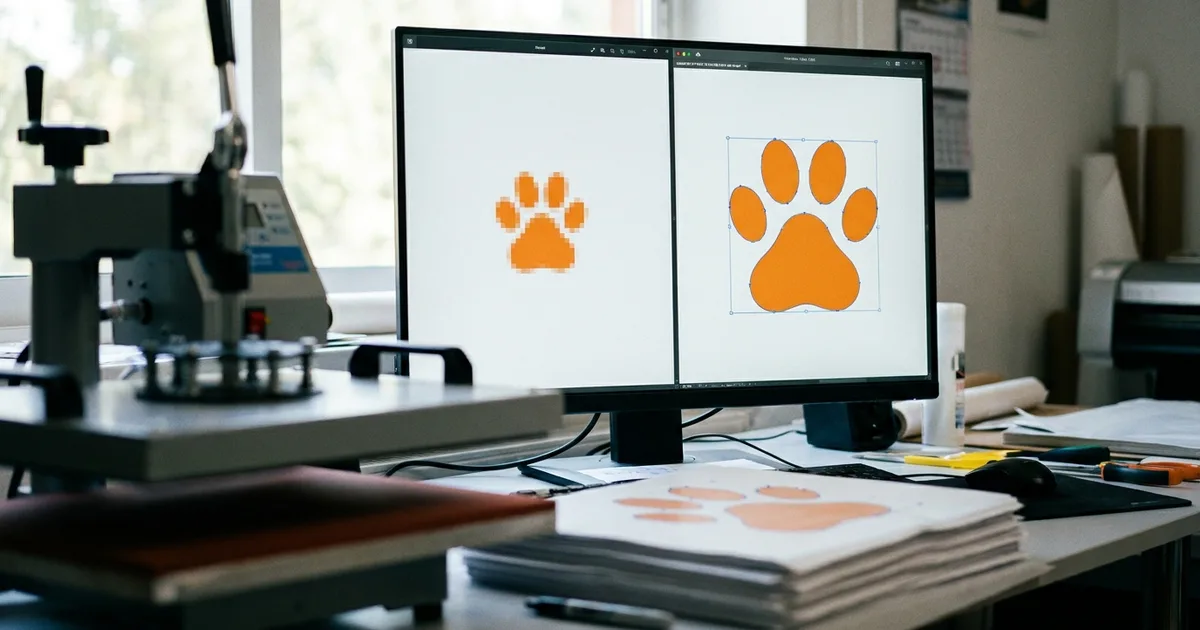
Every DTF shop runs into this problem. A customer wants their business logo on 50 shirts, and the only file they have is a 300-pixel JPG from their website or a screenshot from social media. Printed at 10 inches wide, that file comes out soft and blocky. The vector vs. raster guide explains why. Vector paths do not have pixels, so a traced logo prints as sharp at 12 inches as at 3.
Before tracing: ask for the original
Tracing is a repair job. Always ask the customer first for the original logo file from whoever designed it. Formats worth asking for are AI, EPS, SVG, and PDF, or a PNG at least 3,000 pixels wide. Many small businesses have these files in an old email from their designer and do not know it. A real vector file beats any trace.
Also confirm the customer owns or has rights to the logo. Tracing a file does not change who owns the artwork.
Step 1: Import the image into Inkscape
Inkscape is a free vector editor for Windows, macOS, and Linux. The Inkscape for DTF guide covers setup. Use File > Import (Ctrl+I) and choose the logo image. Pick the largest, least compressed version available. A PNG traces more cleanly than a JPG of the same size because JPG compression adds speckles around edges.
Step 2: Open Trace Bitmap and pick a mode
Select the image and open Path > Trace Bitmap (Shift+Alt+B). The Inkscape Beginners' Guide describes these modes:
| Mode | What it does | Use it for |
|---|---|---|
| Brightness cutoff | Makes a single silhouette from light and dark areas | One-color logos, black text, stencil art |
| Edge detection | Traces only the outlines of shapes | Outline-only effects |
| Color quantization | Traces along borders between colors | Simple two- or three-color art |
| Centerline tracing | Turns strokes into single open lines | Handwriting and line drawings |
| Multiple scans: Colors | Traces each color as a separate stacked object | Multi-color flat logos |
For most one-color logos, start with Brightness cutoff and adjust the threshold until the preview matches the original without thickened or broken edges. For a flat logo with several colors, use Multiple scans with the Colors option. Set the number of scans to the number of colors in the logo. Extra scans add noise, not accuracy.
Click Update to refresh the preview after each change, then Apply. The traced paths appear directly on top of the original image. Drag them aside to compare the two.
Step 3: Clean up the trace
A raw trace usually needs work before it is ready to print:
- Delete the original image once the trace is approved, or move it to a hidden layer for reference.
- Remove the background shape. Multi-color traces often include a white or background-colored object. Ungroup the result (Shift+Ctrl+G) and delete it, or white ink will print behind the whole logo.
- Break apart stray specks. Path > Break Apart (Shift+Ctrl+K) splits a path into pieces, so small noise shapes can be selected and deleted.
- Smooth wobbly curves. Path > Simplify (Ctrl+L) reduces the number of nodes. Apply it in small steps. Too much rounds off sharp corners on lettering.
- Check in outline view. View > Display Mode > Outline shows the bare paths, which makes overlaps and leftover fragments easy to spot.
Step 4: Replace the text
Auto-traced lettering is where traces look worst. Small text in a low-resolution logo turns into lumpy shapes that no amount of cleanup fixes. If the font can be identified, retype the text in that font and delete the traced version. Free font-identification sites can often match a font from a clean screenshot. Then convert the new text with Path > Object to Path so it prints the same on any computer.
Step 5: Export for DTF
Set the document to the real transfer size in inches, then export with File > Export (Shift+Ctrl+E) as PNG at 300 DPI. Inkscape keeps the background transparent by default, which is what DTF needs. Save a copy of the cleaned vector as SVG too. The next time that customer orders, the file is ready.
The DTF file prep guide has the rest of the checklist, including the 1.5 pt minimum line thickness that thin traced strokes sometimes fall below.
When tracing does not work
Tracing is the wrong tool for these files:
- Photos and photo-realistic art. Tracing turns them into posterized blobs. Prep photos in a raster editor such as GIMP instead.
- Gradients and soft shadows. Trace output is flat color. A gradient becomes stripes.
- Very small or heavily compressed images. If the edges in the original are guesswork, the trace will be too.
- Detailed logos with fine text. Redrawing is often faster than cleaning a bad trace.
For logos that need redrawing, Inkscape's Pen tool (B) can trace over the original by hand, which is slower but gives clean, deliberate curves. Canva's free Affinity app also lists a "trace pixel images" feature in its vector tools, for shops that already work there.
Frequently Asked Questions
What is the best free way to convert a PNG logo to vector?
Inkscape's Trace Bitmap tool is the most widely used free option. It runs on Windows, macOS, and Linux, needs no account, and offers several tracing modes. Import the PNG, use Path > Trace Bitmap, pick Brightness cutoff for one color or Multiple scans for several, then clean up the result.
Can a traced logo be used for DTF printing?
Yes. After tracing and cleanup, export the vector artwork from Inkscape as a PNG at 300 DPI at the final print size with a transparent background. That is the standard file DTF suppliers ask for, and it prints sharp at any size because it was rendered from paths.
Why does my traced logo look lumpy?
Lumpy edges usually come from a small or heavily compressed source image, too many scans, or a threshold set too high or low. Start from the largest file available, use the fewest scans that capture every color, and apply Path > Simplify in small steps. Retype traced text instead of cleaning it.
Does Inkscape Trace Bitmap work with colored logos?
Yes. The Multiple scans mode with the Colors option traces each color as its own stacked object. Set the scan count to match the number of colors in the logo. Afterward, ungroup the result and delete the background object so it does not print as white ink.
Is it legal to vectorize someone else's logo?
Tracing a logo does not change who owns it. Print a logo only when the customer owns it or has written permission from the owner. Many print shops ask customers to confirm this before accepting a logo order, especially for team, school, and franchise logos.
Where it fits in the DTF Database
A clean vector logo saves money on every reorder and makes left-chest and full-back sizes print equally well. The free design tools roundup covers the rest of the free workflow, the placement calculator gives the right size for each location, and the supplier directory lists DTF transfer companies that print from the finished file.
Tags
About the Author
DTF Database Founder
Darrin DeTorres has over 10 years of experience in the print industry, specializing in screen printing, sublimation, embroidery, HTV, and DTF printing. He runs Notice Me Marketing and Media, a custom apparel production company that prints thousands of shirts per month.
More from Tutorials
How to prep DTF files in GIMP 3.2, the free Photoshop alternative: 300 DPI setup, background removal, fixing semi-transparent edges, and PNG export.
Explore DTF Database
Browse and compare 20+ verified DTF printer models by price, features, and specifications.
Read moreCalculate your per-print costs, profit margins, and ROI for DTF printing.
Read moreBrowse verified DTF suppliers for ink, film, powder, and equipment.
Read moreFind DTF transfer suppliers shipping to your state, with verified turnaround times.
Read moreMetro-level DTF supplier guides for Los Angeles, NYC, Dallas, Houston, and more.
Read moreStep-by-step guide to the DTF printing process with temperatures and troubleshooting.
Read more