
How to Apply DTF Transfers With an Iron (Step by Step)
You can apply a DTF transfer with a household iron: cotton setting, no steam, firm pressure and parchment. See the steps, timing, peeling and aftercare.
How do you apply DTF transfers with an iron?
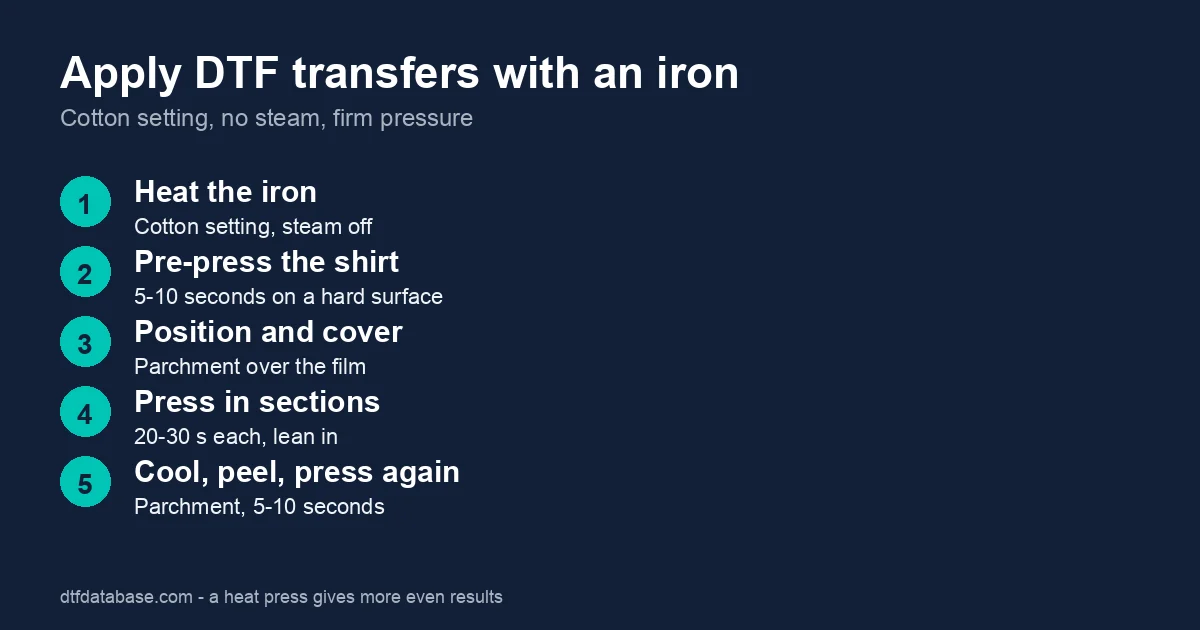
Use an iron on the cotton setting with the steam turned off, press on a hard, flat surface instead of an ironing board, and apply firm pressure over the whole design. Work in sections for anything larger than the iron's base. Supplier instructions vary, so use their time and temperature if they gave them, and test on a scrap shirt first.
What you need
- A household iron with no steam, and a hard surface such as a wooden table covered with a cotton towel or pressing mat
- Parchment paper or a Teflon sheet
- A ready-to-press DTF transfer. See ready-to-press DTF transfers for how they work.
- A cotton or cotton-blend garment, washed without fabric softener
- A lint roller and a timer
Step by step
- Heat the iron. Set it to the cotton setting, typically 300 to 350 degrees F, with the steam off and the water tank empty.
- Pre-press the garment. Press for 5 to 10 seconds to remove moisture and wrinkles. A damp garment is a common reason for transfers not sticking.
- Position the transfer. Place it adhesive side down and fold the shirt in half to check it is centered. Our placement guide gives the standard distances from the collar.
- Cover and press. Lay parchment over the film. Press down with your body weight for 20 to 30 seconds per section, keep the iron moving in small overlaps and cover the edges and corners.
- Peel. Most transfers are cold peel: wait until the film is cool, then peel slowly at an angle. If an area lifts, lay the film back and press it again.
- Press again. Cover the design with parchment and press for 5 to 10 seconds to set it into the fabric.
A heat press runs 300 to 325 degrees F for 10 to 15 seconds on cotton, so an iron needs longer because it has uneven heat and less pressure. Treat the times above as a starting point, not a guarantee.
Common mistakes with an iron
- Ironing on a soft board. The board absorbs pressure. Use a hard surface.
- Steam on. Moisture stops the adhesive from bonding.
- Not enough pressure. Lean in, and press the corners and edges one at a time.
- Peeling early. On a cold peel, peeling hot lifts the print.
- Using polyester. An iron on high can scorch synthetics. For polyester, use a lower setting and a heat press if possible. See heat pressing polyester.
Aftercare
Wait 24 hours before washing. Wash inside out in cool water on a gentle cycle, use mild liquid detergent and skip bleach and fabric softener. Hang dry or tumble dry low. Our washing and care guide has the full instructions, and if the print cracks, read how to fix peeling DTF prints.
Iron or heat press?
An iron is fine for a few small designs at home. If you press shirts regularly, a heat press gives even heat and pressure, which is why most shops use one. See iron vs heat press and the heat press buying guide.
Frequently asked questions
Can you apply DTF transfers with a regular iron?
Yes, small designs can be applied with a household iron on the cotton setting without steam. Use firm pressure on a hard surface, cover with parchment and test first. A heat press is more reliable.
How long do you iron a DTF transfer?
Plan on about 20 to 30 seconds of firm pressure per section, then a 5 to 10 second press after peeling. If your supplier gives a time, use theirs.
What temperature should the iron be for DTF?
Use the cotton setting, typically 300 to 350 degrees F, with steam off. Use a lower setting on polyester and test on a scrap.
Why is my DTF transfer peeling after ironing?
Usually not enough heat, pressure or time, steam in the iron, or peeling before the film cooled. Re-press with parchment for 10 to 15 seconds.
Can I iron over the DTF design after it is applied?
Only through parchment or a cloth on low heat. Direct ironing on the print can shift or damage it.
Aftercare detail: should you use fabric softener.
Not sure which type to buy? Compare them in transfers for shirts.
Tags
About the Author
DTF Database Founder
Darrin DeTorres has over 10 years of experience in the print industry, specializing in screen printing, sublimation, embroidery, HTV, and DTF printing. He runs Notice Me Marketing and Media, a custom apparel production company that prints thousands of shirts per month.
More from Tutorials
Explore DTF Database
Browse and compare 20+ verified DTF printer models by price, features, and specifications.
Read moreCalculate your per-print costs, profit margins, and ROI for DTF printing.
Read moreBrowse verified DTF suppliers for ink, film, powder, and equipment.
Read moreFind DTF transfer suppliers shipping to your state, with verified turnaround times.
Read moreMetro-level DTF supplier guides for Los Angeles, NYC, Dallas, Houston, and more.
Read moreStep-by-step guide to the DTF printing process with temperatures and troubleshooting.
Read more