
How to Press DTF Transfers & Fix Peeling, Lifting, Fading
Press DTF on cotton at 300-325F for 10-15 seconds at medium-firm pressure. Step-by-step application, mini press and Cricut EasyPress limits, and fixes for transfers that peel, lift, scorch, or fade after washing.
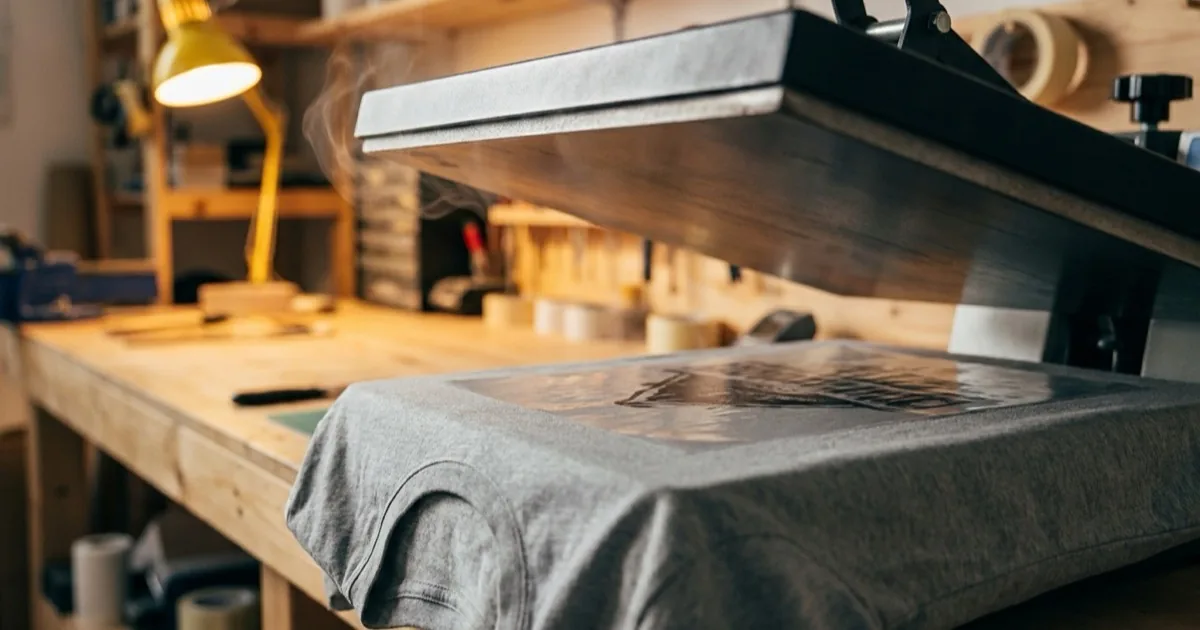
How to Press DTF Transfers, and How to Fix the Ones That Fail
The ideal temperature for a DTF transfer is 300–325°F (149–163°C) for cotton, applied with medium-firm pressure for 10–15 seconds, then peeled hot or cold depending on your film. Getting these settings right is the single most important factor in achieving durable, vibrant DTF transfers that last 50+ washes.
Whether you are using a professional clamshell heat press, a swing-away press, or a Cricut EasyPress, this guide covers the exact temperature, time, and pressure settings for every common fabric type, plus troubleshooting for the most frequent pressing problems.
What Temperature Do You Set for Each Fabric Type?
| Fabric Type | Temperature | Time | Pressure | Peel Method |
|---|---|---|---|---|
| 100% Cotton | 300–325°F (149–163°C) | 10–15 sec | Medium–firm | Hot or cold peel |
| 50/50 Cotton / Polyester Blend | 285–295°F (141–146°C) | 12–15 sec | Medium–firm | Warm or cold peel |
| CVC / Cotton-Dominant Blend (60/40, 80/20) | 290–310°F (143–154°C) | 10–15 sec | Medium | Warm or cold peel |
| 100% Polyester (incl. sportswear) | 270–285°F (132–141°C) | 10–12 sec | Medium | Cold peel |
| Tri-Blend (cotton/poly/rayon) | 280–300°F (138–149°C) | 10–12 sec | Medium–light | Warm or cold peel |
| Nylon (jackets, performance shells) | 270–285°F (132–141°C) | 10–15 sec | Light–medium | Cold peel |
| Performance / Moisture-Wicking | 250–275°F (121–135°C) | 15–20 sec | Light–medium | Cold peel |
| Cotton / Spandex Blend | 290–305°F (143–152°C) | 12–15 sec | Medium | Warm or cold peel |
| Canvas / Heavyweight Cotton Bag | 300–325°F (149–163°C) | 15–20 sec | Firm–high | Cold peel |
| Denim | 300–325°F (149–163°C) | 15–20 sec | Firm | Cold peel |
| Leather (real or synthetic) | 250–280°F (121–138°C) | 10–15 sec | Medium | Cold peel |
| 50/50 Heavy Blend Fleece (hoodies, crewnecks) | 285–300°F (141–149°C) | 15–20 sec | Medium | Cold peel |
| Viscose / Rayon | 265–285°F (129–141°C) | 8–12 sec | Light–medium | Cold peel |
| Neoprene / Foam (koozies) | 280–300°F (138–149°C) | 8–10 sec | Light–medium | Cold peel |
| Hats / Caps (cotton, cotton-poly) | 270–295°F (132–146°C) | 10–15 sec | Medium (cap press) | Cold peel |
These are the same figures published on the interactive DTF heat press temperature chart, which adds finish-press settings and per-fabric notes for each row.
Important: Always do a test press on a scrap piece or inside seam area before running production.How Do You Apply DTF Transfers Step by Step?
- Pre-heat the garment — Press the garment for 3–5 seconds to remove moisture and wrinkles. This ensures a flat, dry surface for adhesion. For exact placement on chest, back, sleeve, and oversized prints, see the shirt placement guide and DTF sizing chart.
- Position the transfer — Place the DTF transfer face-down (ink side touching the fabric) in the desired location. Use a shirt placement ruler or alignment marks for consistency.
- Cover and press — Place a Teflon sheet or parchment paper over the transfer to protect it. Close the heat press and apply the settings from the chart above.
- Cold peel the film — After pressing, allow the transfer to cool completely before peeling the PET film. This typically takes 15–30 seconds. Pulling the film while warm can lift the ink.
- Post-press (optional) — For maximum durability, flip the garment inside-out, place a Teflon sheet over the back of the design, and press again at the same temperature for 5 seconds.
Are DTF Transfers Hot Peel or Cold Peel?
It depends on the film. Most modern DTF films support either hot peel or cold peel on cotton, and the film manufacturer's spec sheet is the authority. Cold peel is the safer default: it is required on polyester and performance fabrics, and it is more reliable on large, heavily inked, or distressed designs regardless of fabric.
Cold Peel vs Warm Peel vs Hot Peel
| Peel Type | When to Remove Film | Use It For |
|---|---|---|
| Hot peel | Within 5 sec of opening the press | Most modern DTF films on flat cotton designs; fastest production |
| Warm peel | After 10–30 sec, while still warm to the touch | Mid-weight or fine-detail designs on cotton blends |
| Cold peel | After 60–90 sec, once cooled to room temperature | Polyester, performance, nylon, leather, large or distressed designs |
Peeling a cold-peel film while it is still hot is a common cause of transfers that lift, crack, or finish with a rough texture. When in doubt, wait for the cold peel.
If you purchase transfers from a supplier, always follow the specific peel instructions provided. Most DTF suppliers — including Ninja Transfers, Upload Transfers, and LoneStar DTF — produce cold-peel transfers.
What Pressure Settings Work Best for DTF?
Pressure is just as important as temperature. Too little pressure and the adhesive will not bond; too much and you risk scorching or flattening the garment texture.
- Light: Minimal resistance when closing the press. Used for delicate fabrics and nylon.
- Medium: Moderate resistance — the standard for cotton and blends. You should feel firm contact without straining to close.
- Firm/Heavy: Strong resistance. Reserved for thick canvas, denim, and heavy cotton.
A heat press pillow placed inside the garment helps equalize pressure over seams, zippers, and buttons. For choosing the right heat press for DTF work, see the buying guide.
Can You Press DTF Transfers with a Mini Heat Press or Cricut EasyPress?
Mini heat press machines and Cricut EasyPress devices can apply DTF transfers, but with limitations:
- Mini press: Best for small placements like neck labels, sleeve prints, and left-chest logos (under 4" x 4")
- Cricut EasyPress 2/3: Can reach 325°F and works for small-to-medium transfers. Hand pressure is inconsistent, so press firmly and evenly.
- Limitations: Neither device provides measured mechanical pressure. For production work or transfers larger than 10" x 10", use a standard clamshell or swing-away heat press.
How Do You Fix Common DTF Pressing Problems?
Transfer peels off after washing?
The adhesive did not fully activate. Increase temperature by 5–10°F, add 2–3 seconds of press time, or increase pressure. Ensure you are cold peeling — not pulling the film while warm.Transfer feels stiff or plasticky?
Temperature or time is too high. Reduce by 5°F and/or 2 seconds. Over-pressing cooks the adhesive and creates a rigid film. Bad powder cure can also produce a stiff hand — see the DTF powder guide for cure-temp targets and particle-size tradeoffs.Edges lifting or corners peeling?
Uneven pressure. Use a heat press pillow and verify the garment is flat (no seams or folds under the transfer). Re-press the affected area.Scorching or shine marks on polyester?
Temperature is too high for the fabric. Lower to 270–285°F and use a Teflon cover sheet. Polyester is heat-sensitive and will develop a shiny mark (called glazing) if overheated. The heat pressing polyester HTV/DTF temperature and iron-burn repair guide covers polyester-specific recovery steps when shine has already set in.Colors look faded after pressing?
The film was peeled too early (warm or hot). Let the transfer cool completely before peeling. Also check that the transfer was placed ink-side down — a common beginner mistake.Frequently Asked Questions
What temperature do you press DTF transfers at?
The standard temperature for DTF transfers on cotton is 300–325°F (150–165°C) with medium pressure for 10–15 seconds, followed by a cold peel. Polyester requires lower heat at 270–290°F to prevent scorching.Are DTF transfers cold peel or hot peel?
Most DTF transfers are cold peel, meaning you wait for the transfer to cool completely before removing the carrier film. Peeling while hot or warm can cause the ink to lift off the garment.Can I use a Cricut EasyPress for DTF transfers?
Yes, a Cricut EasyPress 2 or 3 can press DTF transfers for small-to-medium placements. The main limitation is inconsistent hand pressure, which can affect adhesion on larger transfers. For production quality, a mechanical heat press is recommended.How do I press DTF transfers on polyester without scorching?
Lower the temperature to 270–290°F, reduce press time to 10–12 seconds, use light-to-medium pressure, and always cover the transfer with a Teflon sheet. Polyester is heat-sensitive and will develop shine marks if overheated.Do I need to pre-heat the garment before applying a DTF transfer?
Yes. A 3–5 second pre-press removes moisture and wrinkles from the garment, creating a better surface for adhesion. This step takes seconds and significantly improves transfer durability.Not sure how the process works end to end? See how direct-to-film printing works.
To see how polyester reacts to heat outside the press, including shrinking, wrinkling and distortion, read the polyester shrinkage guide.
Fabric hand also affects press choices, so see polyester texture and feel before testing a new blank.
Tags
About the Author
DTF Database Founder
Darrin DeTorres has over 10 years of experience in the print industry, specializing in screen printing, sublimation, embroidery, HTV, and DTF printing. He runs Notice Me Marketing and Media, a custom apparel production company that prints thousands of shirts per month.
More from Tutorials
Explore DTF Database
Browse and compare 20+ verified DTF printer models by price, features, and specifications.
Read moreCalculate your per-print costs, profit margins, and ROI for DTF printing.
Read moreBrowse verified DTF suppliers for ink, film, powder, and equipment.
Read moreFind DTF transfer suppliers shipping to your state, with verified turnaround times.
Read moreMetro-level DTF supplier guides for Los Angeles, NYC, Dallas, Houston, and more.
Read moreStep-by-step guide to the DTF printing process with temperatures and troubleshooting.
Read more